
In this article, I will show you the markdown table of contents creation steps in a manual way as well as through the vscode markdown all-in-one extension. At the end of this article, you should be comfortable using the extension to create TOC quickly.
TABLE OF CONTENTS
How To Create Markdown Table Of Contents – Manual Approach
The table of contents is generated from your headings. Markdown supports 6 levels of headings(H1 to H6). Using the headings you can create nested TOC too.
Open your vscode, create a markdown file and add the following headings.
## Heading 1

## Heading 2
### Heading 2.1

## Heading 3
### Heading 3.1
#### Heading 3.1.1
Below is the syntax to create TOC in list format.
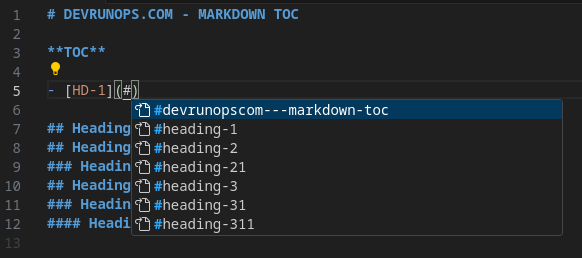
- [Heading To Display In TOC](#Heading-ID)- Inside the ‘[ ]’ brackets goes the actual heading to be displayed in the TOC. It can be different from the actual heading name.
- The (#Heading-ID) is a link to the heading automatically generated by vscode as you type.
As you can see in the below image, as soon as I type the # symbol inside the brackets, vscode suggests the list of available headings. Select a heading that will be linked to the [Heading] in TOC.
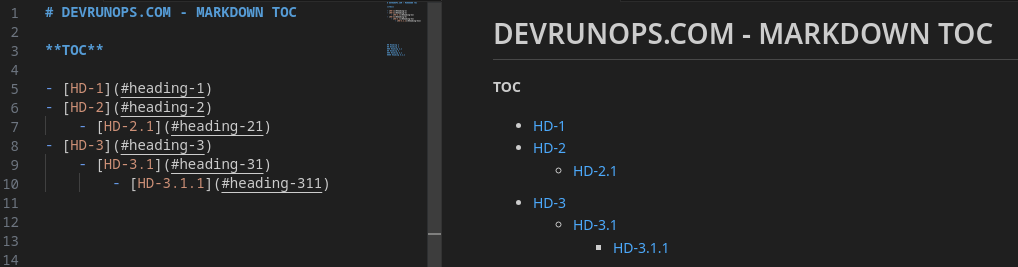
You can also create nested TOC. For example, the heading 2 and 3 have subheadings with different heading tags. Since we are creating the TOC in list format, you can use TAB on the next line and use the TOC syntax.
How To Create Markdown Table Of Contents Using Markdown All In One Extension
In the previous section, we have seen how to manually create TOC for each heading. But this is a tedious and time-consuming process especially when your markdown file is huge. You can install the markdown all in one extension extension which will automatically create TOC and updates on save.
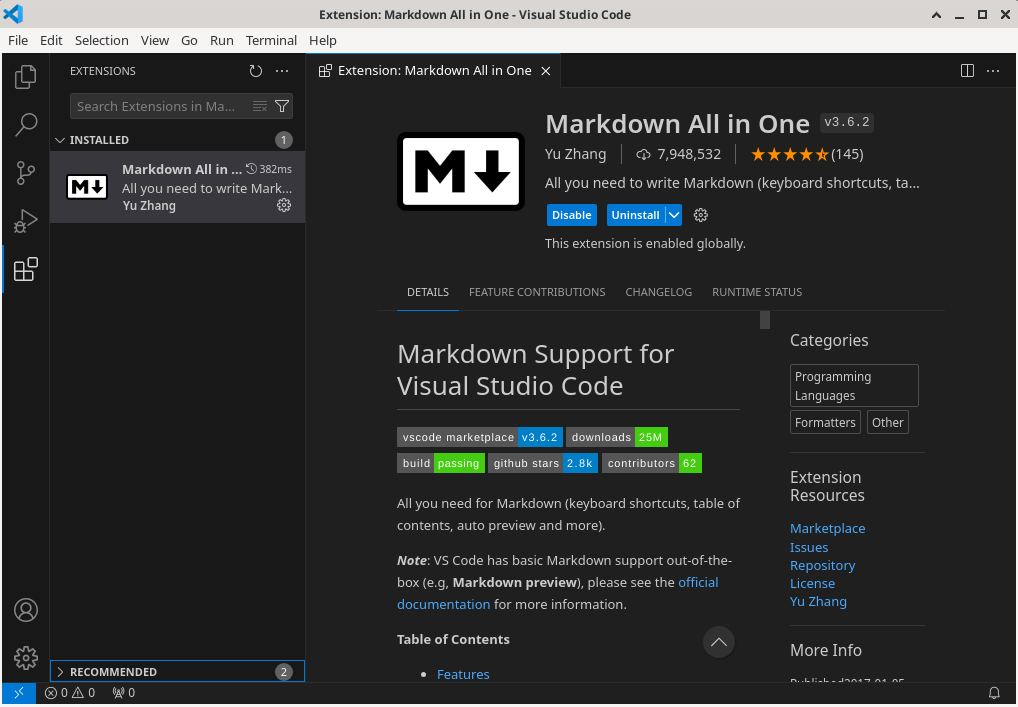
Install Markdown All In One extension In Vscode
You can install the extension either from the terminal or from within the vscode extensions window.
VSCODE EXTENSION WINDOW – From the VSCode extension window, type ‘markdown all in one’ and click Install.
VSCODE CLI – Open the terminal and run the following command to install the extension.
$ code --install-extension yzhang.markdown-all-in-oneGenerate TOC Using Markdown All In One Extension
Open the command pallet(SHIFT + CTRL + P) and type ‘create table of contents’. Select the option and it will insert the TOC in the current cursor position.

The TOC in the below image is generated through the above option.
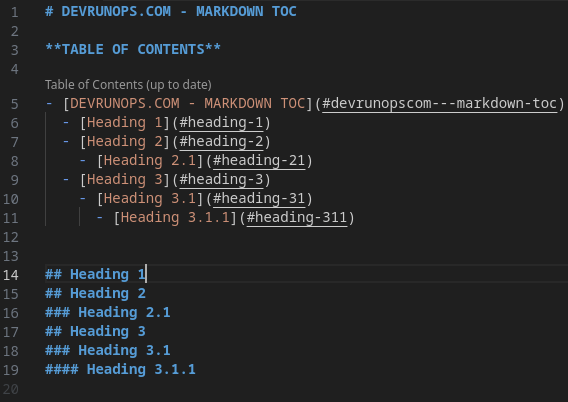
Some important points to be noted from the above image.
- The extension uses the heading levels to create the nested list.
- The top of TOC shows if the table is up to date or not. If there are any changes made, it shows as ‘out of date’.
- Once you save the document, the changes are automatically reflected in the TOC. You can disable this behaviour by setting the parameter ‘markdown.extension.toc.updateOnSave: false‘ in the vscode settings file. By default, the parameter markdown.extension.toc.updateOnSave is set to true.
"markdown.extension.toc.updateOnSave": falseIgnore Headings
You can add the following line on top of headings and the heading will be ignored and not added to TOC.
<!-- omit from toc -->As you can see in the below image, I have added the above line to my H1, H3, and H4 heading tags and the headings are not added to TOC.

You can also set markdown.extension.toc.levels: “X..Y” parameter in vscode settings. This parameter accepts a value as a string in the form of “X..Y”. Here X and Y point to the range of heading levels. For example, if the value is set to “2..4” then only H2..H4 headings will be added to TOC.
"markdown.extension.toc.levels": "2..4"Slugify Mode
Using this plugin you can also generate TOC for specific platforms like Azure devops, GitLab, Github, and vscode. Add the parameter ‘markdown.extension.toc.slugifyMode’ to the vscode settings and set the platform name as value. By default, it is set to generate TOC for github.
"markdown.extension.toc.slugifyMode": "bitbucket-cloud"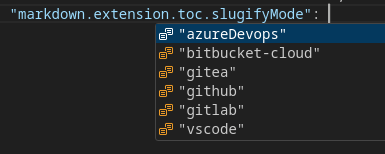
As you can see from the below image, I did set the value to ‘bitbucket-cloud’ and created TOC which is different from what is created for Github.

Automatically Add/Remove Section Numbers
The plugin also supports adding section numbers automatically. Open the command pallet(SHIFT + CTRL + P) and type ‘Add/Update section numbers’. If there are no section numbers, it will add the numbers to both the TOC and headings. For any modifications, existing section numbers will be modified accordingly.

You can also remove the section numbers by choosing the ‘Remove section numbers’ option.
NOTE: The section numbers will be added only for H1..H3 tag.
Wrap Up
In this article, we have seen how to manually create markdown TOC in vscode and with the markdown all in one plugin. By this time you should have realized that the markdown all in one plugin offers a lot of features to easily generate, update and ignore TOC in vscode.