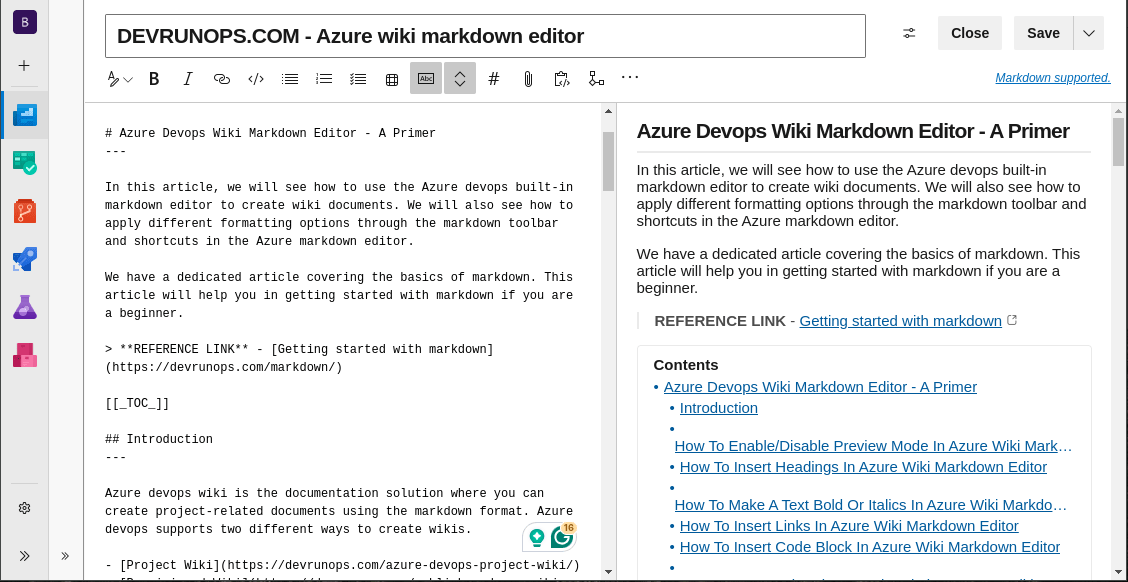
This article will show us how to use the Azure devops wiki markdown editor to create wiki documents. We will also see how to apply different formatting options through the markdown toolbar and shortcuts in the Azure markdown editor.
We have a dedicated article covering the basics of markdown. This article will help you get started with markdown if you are a beginner.
REFERENCE LINK – Getting started with markdown
Table of Contents
Introduction
Azure devops wiki is the documentation solution where you can create project-related documents using the markdown format. Azure devops supports two different ways to create wikis.
You can clone the wiki repo locally create markdown documents and push the changes to the wiki repo. Alternatively, you can also create wiki pages directly in the web UI.
The main advantage of the web UI is you will get an interface where you can click buttons or use shortcuts to apply formatting. Some of the core features of azure devops markdown editor are.
- Side-by-side preview
- Buttons to insert/format the document
- Supports shortcuts
- Easily generate table of contents with [[_TOC_]]
- Easily insert or format tables
- Link work items
- Mention one or more users in the document
- Supports formulas
- Supports mermaid diagrams
- Supports YAML tags
How To Enable/Disable Preview Mode In Azure Devops Wiki Markdown Editor
Azure wiki markdown editor provides side by side preview feature. As you type in the editor the corresponding output will be rendered and displayed on the right side.
You can toggle the preview on/off from the view options.
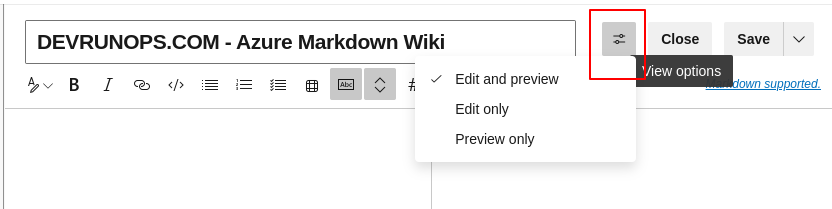
EDIT AND PREVIEW – Default view. The editor pane will be on the left side and the preview pane will be on the right side.
EDIT ONLY – No preview only the editor pane will be visible for editing.
PREVIEW ONLY – No editor pane, only a preview window available for reading the document.
How To Enable/Disable Synchronized Scroll In Azure Devops Wiki Markdown Editor
When you scroll up or down in either the preview or editor pane the other side also scrolls synchronously. Selecting the ‘Disable Synchronized Scroll’ icon from the toolbar suppresses this behaviour.
How To Enable/Disable Word Wrap In Azure Devops Wiki Markdown Editor
You can enable or disable the word wrap by selecting the ‘word wrap’ option from the toolbar.
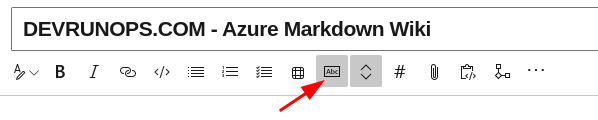
How To Insert Headings In Azure Devops Wiki Markdown Editor
You can insert the markdown headings using the ‘# symbol’ or the UI header option. You can insert a new heading or convert an existing text to a heading using the below option.
Markdown Toolbar -> Header -> Select Heading Level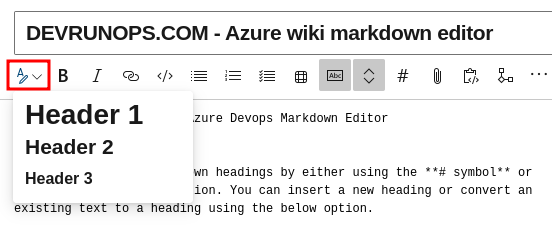
REFERENCE LINK – How To Create & Align Headings In Markdown
How To Make A Text Bold Or Italics In Azure Devops Wiki Markdown Editor
You can use the following symbols to make a text bold, italics or a combination of both.
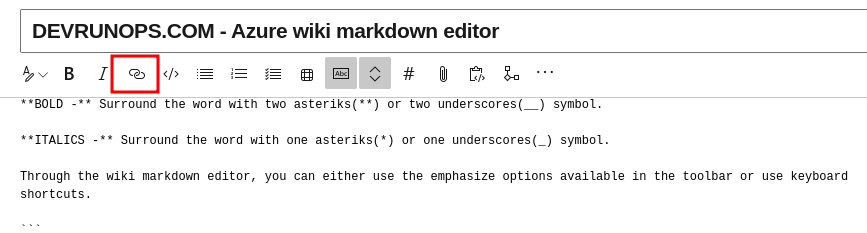
BOLD – Surround the word with two asterisks (**) or two underscores(__) symbols.
ITALICS – Surround the word with one asterisk (*) or one underscores(_) symbol.
Through the wiki markdown editor, you can either use the emphasize options available in the toolbar or use keyboard shortcuts.
Markdown Toolbar -> Bold

or

Select words -> CRL + B
Markdown Toolbar -> Italic
or
Select Words -> CTRL + I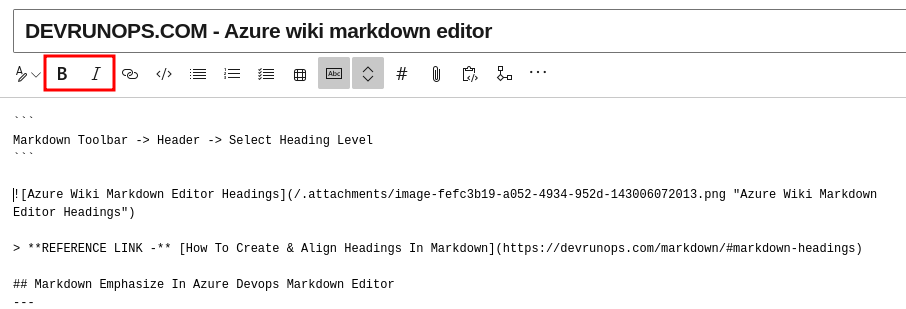
REFERENCE LINK – How To Work With Markdown Emphasize
How To Insert Links In Azure Devops Wiki Markdown Editor
Markdown links can be added using the following syntax.
[TEXT](URL "TITLE")The above syntax can be inserted by pressing the CTRL + K keystroke or through the toolbar.
Important points to be noted.
- You can select a word, and press CTRL + K to convert the selected text as link text.
- The wiki automatically renders the URL without using the <> tag.
- To convert a URL to text, surround it with backticks(`URL`).
REFERENCE LINK – How To Work With Markdown Links
How To Insert Code Block In Azure Devops Wiki Markdown Editor
The wiki editor supports both single-line code block and fenced code block. The editor toolbar only has the option to insert a single line code block where it will just insert two backticks.
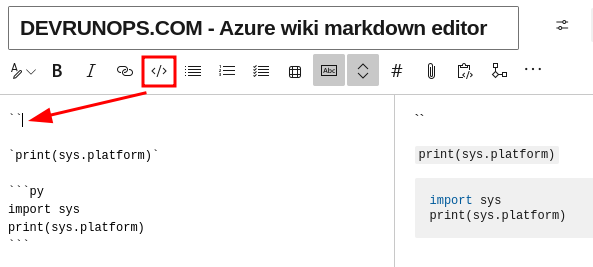
REFERENCE LINK – How To Create Code Blocks In Markdown
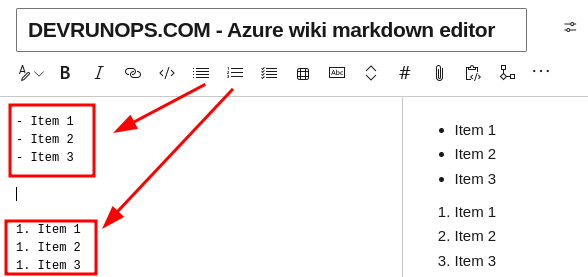
How To Insert Ordered & Unordered List In Azure Devops Wiki Markdown Editor
If you have a list of items, you can select it and convert it to the ordered or unordered list. If you notice in the below image, all the ordered items are inserted with “1” instead of sequential numbers.
REFERENCE LINK – How To Work With Ordered & Unordered List
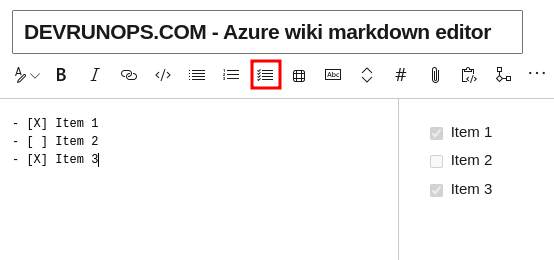
How To Insert Task List In Azure Devops Wiki Markdown Editor
A task list can be inserted by selecting the task list icon from the toolbar. You can also select a list of items and convert it to a task list.
REFERENCE LINK – How To Create Mardown Checkbox
How To Insert Tables In Azure Devops Wiki Markdown Editor
You can insert markdown tables by selecting the table icon from the toolbar. You can select the number of rows and columns to be inserted. You can also select an existing table and format it using the “Format Tables” option or using the shortcut “CTRL + SHIFT + F”.
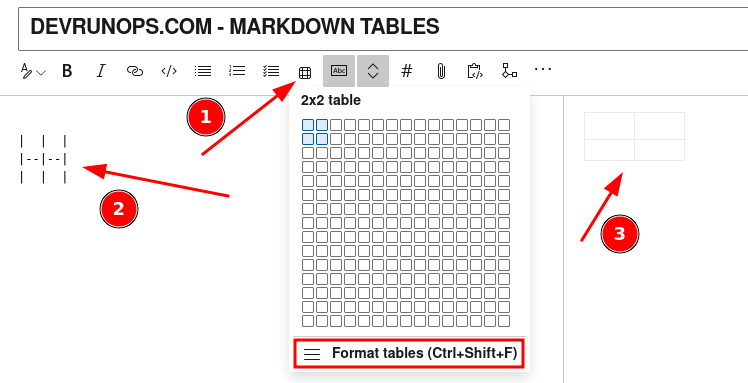
REFERENCE LINK – How To Create Mardown Tables
How To Refer A Work Item In Azure Devops Wiki Markdown Editor
To refer to a work item created in Azure boards, type the ‘#’ symbol and a list of items will be automatically displayed. You can navigate to the work item by clicking on the work item from the preview pane.

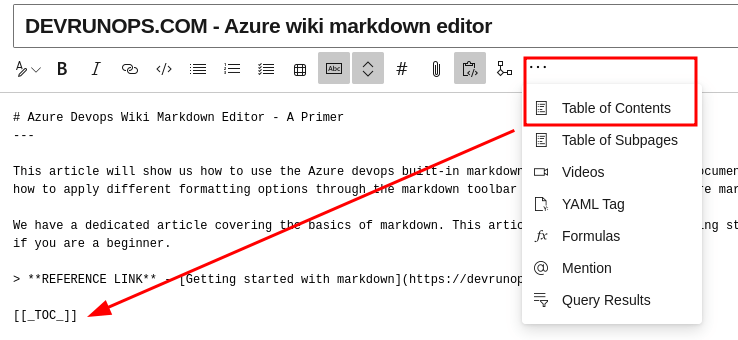
How To Insert Table Of Contents In Azure Devops Wiki Markdown Editor
To insert the table of contents, either type [[_TOC_]] in the editor or select the ‘table of contents’ option from the toolbar which will automatically add [[_TOC_]] at the cursor position. Any changes made to the headings, the table of contents will be automatically updated.
RELATED ARTICLE – Markdown Table Of Contents
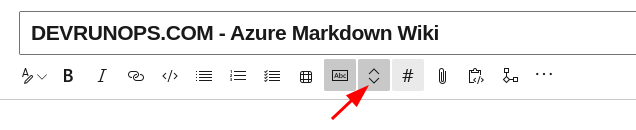
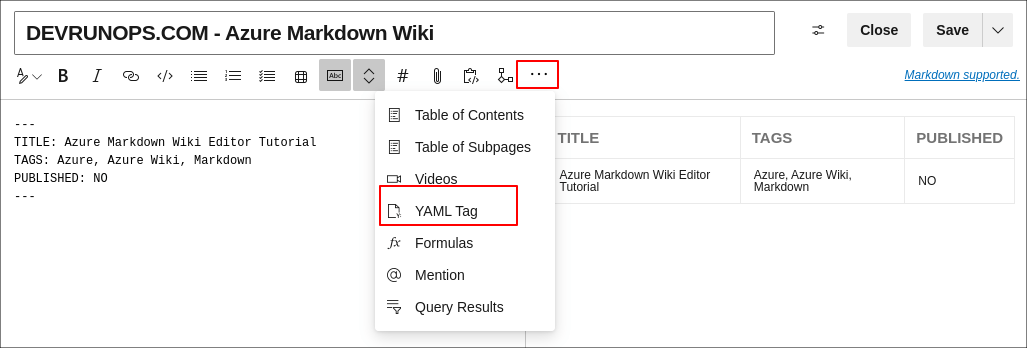
How To Insert YAML Tags In Azure Devops Wiki Markdown Editor
The YAML tags can be used to store the metadata about the document which will be rendered in table format. When you click the “YAML Tag” option from the toolbar, the following YAML snippet will be automatically added to the document.
---
tags:
- post
- code
- web
title: Hello world
---
You can modify and create your tags which will be rendered as a table as shown in the below image.
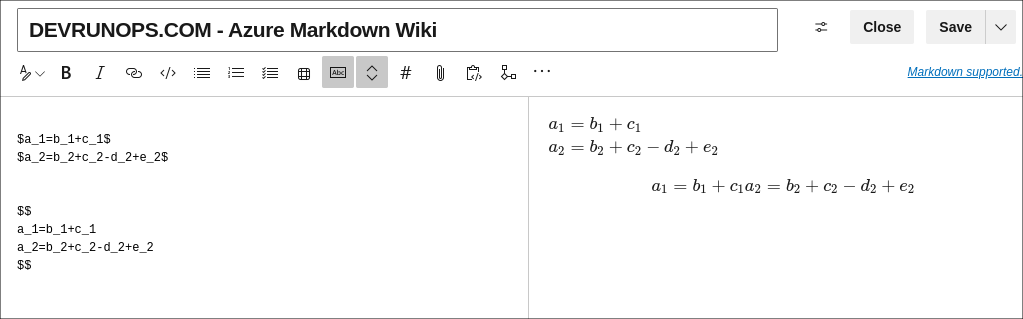
How To Insert Formulas In Azure Devops Wiki Markdown Editor
Azure wiki markdown editor supports both inline and block-type mathematical notations. For inline surround the formula with a single dollar($) symbol. For block type surround the formulas with a double dollar($$) symbol.
How To Commit Changes From Azure Devops Wiki Markdown Editor
You can press “CTRL + S” to save the markdown file. It will automatically create a commit in the underlying git repository. Alternatively, you can also use the editor save/save with revision message options to save the markdown file.
Wrap Up
In this article, we have seen how to use Azure Wiki markdown editor to create and format markdown documents. I have also shown you how to use different options from the wiki toolbar to insert and format the document.