
If you are getting started with apache spark or if you need a local setup to test your application then this article is for you. When I started learning spark years back, there are very limited options to quickly install and set up the spark. But now there are a bunch of options you can choose from like google collab, docker containers, vagrant vm setup, databricks solution, etc.
I will show you how to install and set up the spark in the following linux distributions. These are the most common distributions used for server-side applications.
- Ubuntu Linux Distribution.
- Rocky Linux Distribution(RHEL Family).
The procedure can be applied to other linux distributions in the same distribution family.
Spark Pre-Step 1 – Setup Linux Image
You need to have ubuntu or redhat linux up and running. Either you can set up the operating system manually or choose a simpler solution like docker or vagrant.
Image Setup – Docker Containers
To quickly spin up ubuntu linux on the docker container run the following commands.
$ docker container run -dt --name spark ubuntu
$ docker container exec -it spark bash
Instead of redhat distribution I choose to use rocky linux which is from the RHEL family.
$ docker container run -dt --name spark rockylinux
$ docker container exec -it spark bash
Image Setup – Vagrant
I assume you already have virtualbox and vagrant installed and have a basic understanding of its usage. Run the following commands to initialize & connect with the vagrant environment for ubuntu.
$ vagrant init -m "ubuntu/focal64"
$ vagrant up
$ vagrant ssh
Run the following commands to initialize & connect with the vagrant environment for rocky linux.
$ vagrant init -m "rockylinux/9"
$ vagrant up
$ vagrant ssh
Spark Pre-Step 2 – Dedicated User
It is not recommended practice to use root id as the spark user. In production clusters, you will have a dedicated service account with the name spark.
Let’s add a new user called spark and the password is set as password.
# Ubuntu
$ adduser -G sudo -s /bin/bash -p password spark

# Rocky
$ adduser -G wheel -s /bin/bash -p password spark
Switch to the new user and run all the commands in the upcoming sections.
$ su - sparkSpark Pre-Step 3 – Java Installation
When you write the code in scala, python, or Java spark will convert the source code into java byte code and run it inside java virtual machine(JVM). It is necessary to set up java for the spark to function.
We will go with OpenJDK-11 for our setup since oracle version of java requires a license. Anything on or above openjdk-8 should work fine.
Run the following command based on your linux distribution.
# Ubuntu Distribution
$ sudo apt update && sudo apt install -y openjdk-11-jdk

# Rocky Distribution
$ sudo dnf install java-11-openjdk.x86_64 -y
Validate the installation by checking the Java version.
$ java -version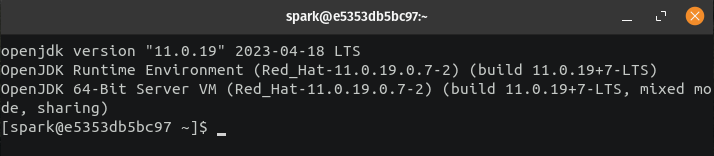
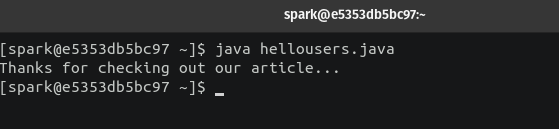
If you wish, you can also run a sample program to test the installation. Create a new file with the .java extension and add the following code.
class HelloUsers {
    public static void main(String[] args) {
        System.out.println("Thanks for checking out our article...");
    }
}
Installing Spark On Linux
The following steps are common for both ubuntu and rocky linux distribution. At the time of writing this article, the latest version of spark is 3.4.0.
Navigate to the project repository and download the package spark with Hadoop.
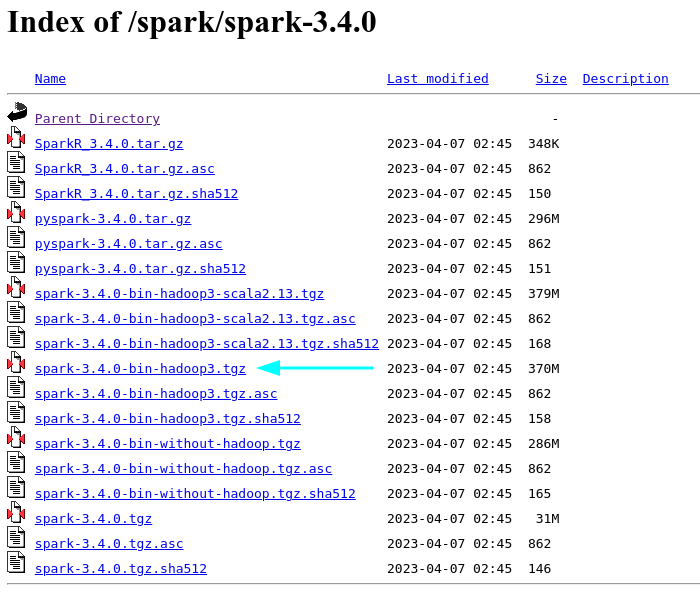
Run the following command to download the .tgz file.
$ curl https://dlcdn.apache.org/spark/spark-3.4.0/spark-3.4.0-bin-hadoop3.tgz -o /tmp/spark-3.4.0-bin-hadoop3.tgz
$ ls -l /tmp/spark-3.4.0-bin*
Extract the .tgz file into the /opt/ directory. You can also choose to extract it under any other directory but /opt/ is one of the locations where additional software will be installed.
$ sudo tar -xvf /tmp/spark-3.4.0-bin-hadoop3.tgz -C /opt/
$ ls -ld /opt/spark*
Since all the directories under /opt/ are owned by root you have to change the ownership to spark user.
$ sudo chown -R spark:spark /opt/spark*We are done with spark installation. Before launching the “spark shell” or submitting any programs through spark-submit we have to set up few environment variables.
Setting Up Spark Environment Variables
Add the following environment variables to your .bashrc file. These environmental variables will be loaded automatically with your shell and instead of using an absolute path to trigger every program you can just run the program.
# JAVA CONF #
export JAVA_HOME="/usr/lib/jvm/java-11-openjdk-11.0.19.0.7-4.el9.x86_64"
export JAVA_BIN="${JAVA_HOME}/bin"

# SPARK CONF #
export SPARK_HOME="/opt/spark-3.4.0"
export SPARK_BIN="${SPARK_HOME}/bin/"
export SPARK_SBIN="${SPARK_HOME}/sbin/"

# PYSPARK CONF #
# When you have multiple python version installed and wish to use specific version for pyspark.
export PYSPARK_PYTHON="/usr/bin/python3"

export PATH=${PATH}:${JAVA_HOME}:${JAVA_BIN}:${SPARK_BIN}:${SPARK_SBIN}
Either start a new bash shell or run the following command to refresh the .bashrc configuration.
$ source ~/.bashrcSpark – Run Your First Program
Spark supports interactive and batch mode to run the programs.
– Interactive mode – Use “spark-shell”, “pyspark”, or “sparkR” which will launch an interactive session within your terminal.
– Batch Mode – Use “spark-submit” to run your code in non-interactive mode.
Spark Interactive Mode
We will run a sample hello world program from spark-shell and pyspark. Create a sample.txt file anywhere in your local file system and paste the following content.
Databricks Snowflake
Spark Snowflake
Databricks Hortonworks
Cloudera Databricks
If you want to use spark with scala just type spark-shell from your terminal and run the given code.
$ spark-shell

# Code snippet
val ip_file = sc.textFile("file:///home/spark/sample.txt")
val wc = ip_file.flatMap(line => line.split(" ")).map(word => (word, 1)).reduceByKey(_ + _)
wc.collect()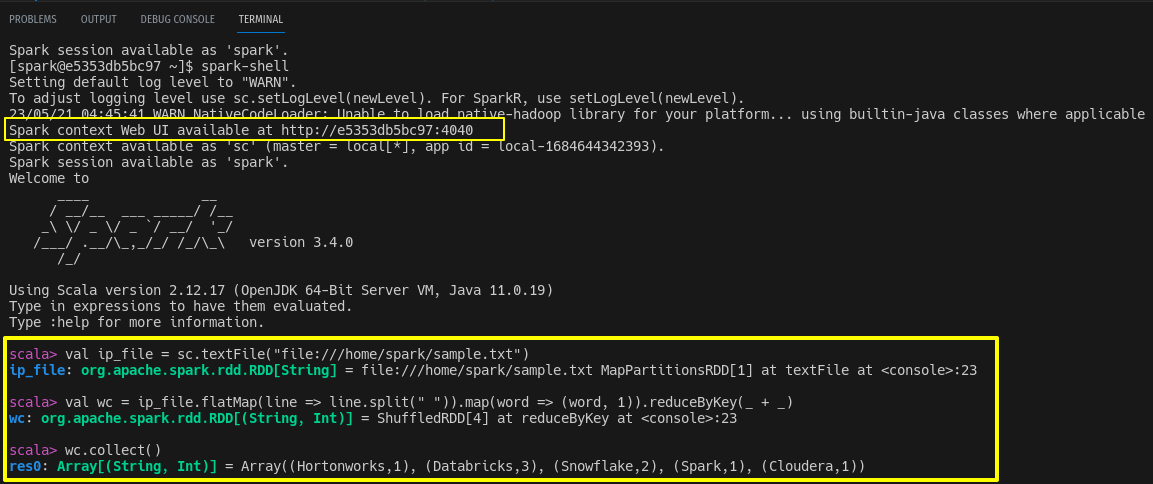
If you want to use spark with python just type pyspark from your terminal.
$ pyspark

# Code snippet
ip_file = sc.textFile("file:///home/spark/sample.txt")
wc = ip_file.flatMap(lambda line: line.split(" ")) \
             .map(lambda word: (word, 1)) \
             .reduceByKey(lambda a, b: a + b)
wc.collect()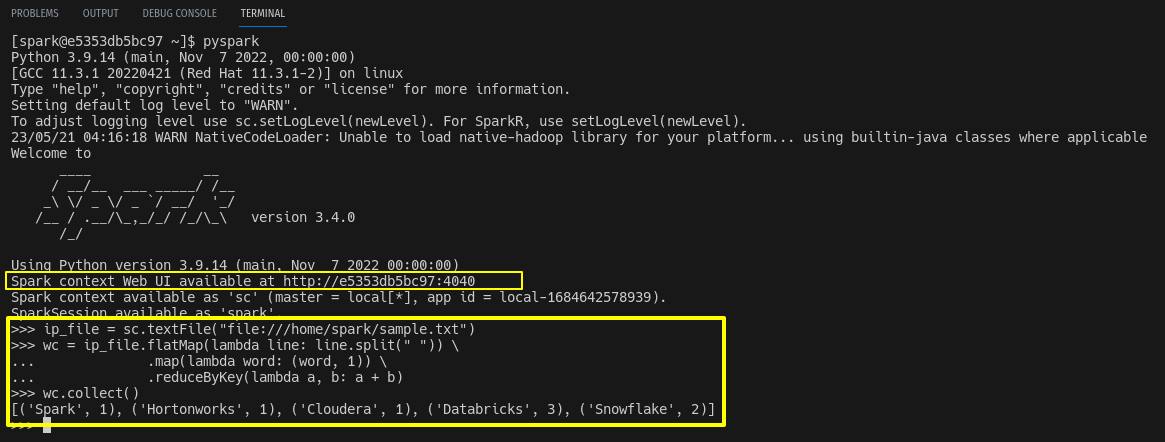
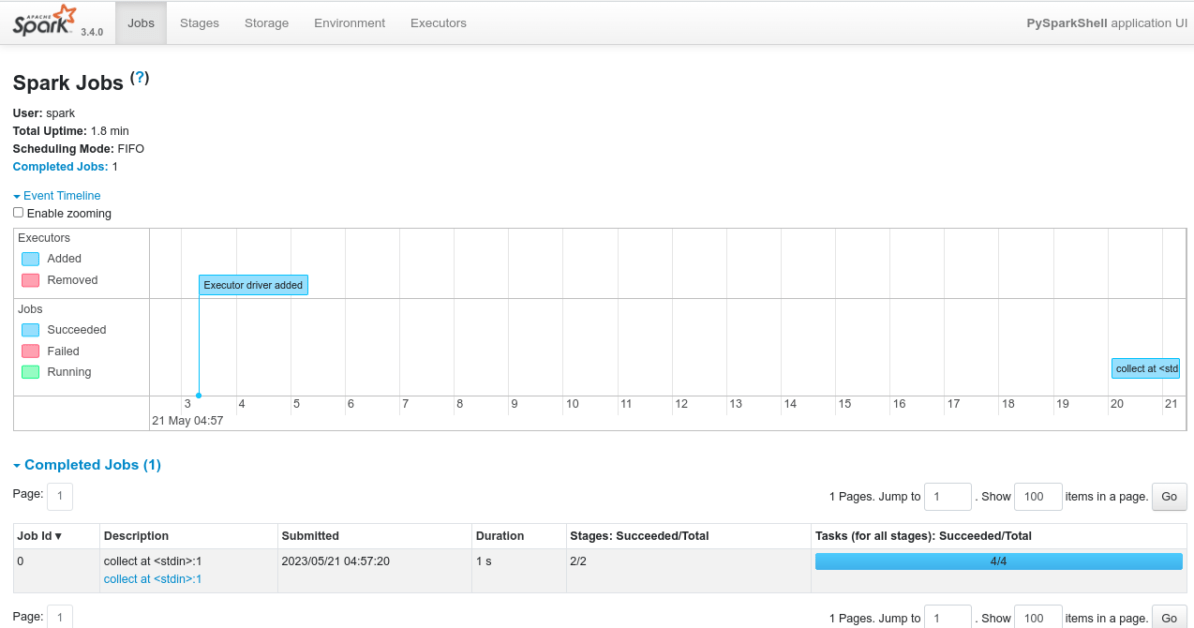
When you launch the spark-shell or pyspark, it will automatically create a spark context and spark UI will be available at port http://hostIPaddress:4040 until you close the spark-shell session. If port 4040 is already in use spark will try to bind the next available port 4041,4042 and so on.
Spark Batch Mode
In real-time, applications will be submitted to Hadoop yarn through the spark-submit command. Spark installation comes with an example program and we will use it to test spark-submit. Under your installation directory, you will find an examples directory where language-related examples are given. I am running a word count program using python.
#syntax
$ spark-submit program_name.py

# Word count example
$ spark-submit /opt/spark-3.4.0-bin-hadoop3/examples/src/main/python/wordcount.py /home/spark/sample.txt 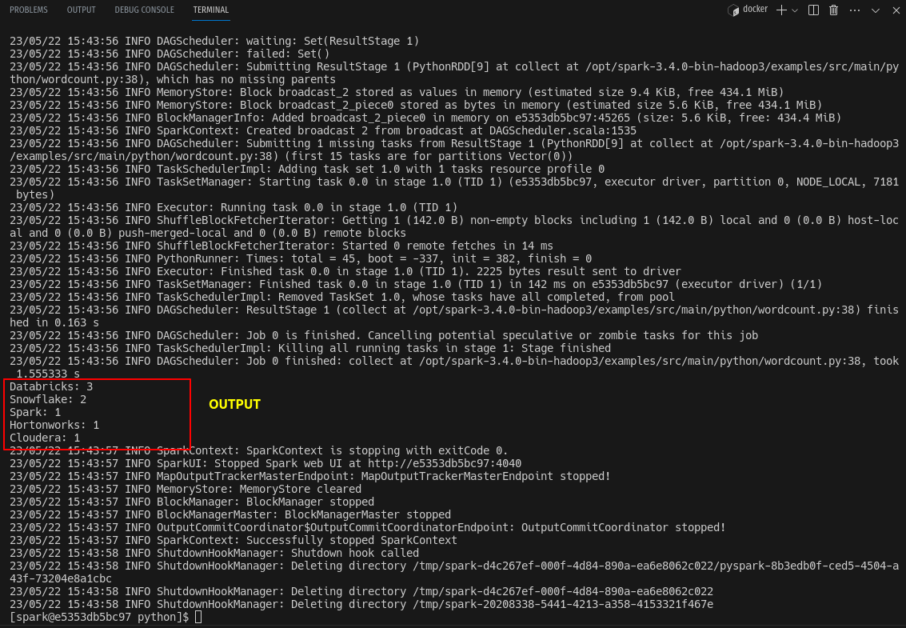
Wrap Up
We have reached the end of the article. I have shown you how to set up and test apache spark in ubuntu and rocky linux. In the next article, I will show you how to set up apache spark in standalone cluster mode.