
In this article, we will discuss how to set up jupyter lab with spark for pyspark developnment activity. In the previous article, I briefly discussed about setting up apache spark in the docker container. I will use the same container image from the previous article which by default comes with apache spark and jupyter stack.
REFERENCE LINK : Apache spark set up in docker container
Why Jupyter Lab?
The jupyter notebook is an excellent web-based tool that is widely used by developers from the data field. The older version is called jupyter notebook and the latest version is called jupyter lab which comes with more features.
Some of the core features of Jupyter Lab include
- Free and open source.
- Interactive cell-based interface.
- Supports data visualization.
- Supports markdown for documentation.
- Support over 40 programming languages.
- Easy integration with popular big data tools.
- Built-in plugin manager.
- Supports magic commands like %%sql, %%sh.
- Easy conversion to different formats like PDF, and HTML through nbviewer.
- Easy customization.
- multi-tab support.
- Supports Vim, sublime keymaps.
If you wish to try the jupyter environment you can use the free public jupyter notebook or lab.
REFERENCE LINK : https://jupyter.org/try
Pyspark Jupyter Lab set up With Environmental Variables
STEP 1 – As the first step we will spin up the docker container jupyter/all-spark-notebook which comes with spark and jupyter stack.
$ docker container run -dt \
--name spark-notebook \
-p 8888:8888 \
-p 8889:8889 \
-p 4040:4040 \
-e DOCKER_STACKS_JUPYTER_CMD=server \
-v "/home/user/Desktop/spark/notebook:/home/jovyan/work/" \
jupyter/all-spark-notebook
Here I am mapping ports 8888 and 8889 localhost to 8888 and 8889 container. By default the jupyter server will listen at port 8888 and the notebook process that we launch will listen at the next available port 8889. Hence we mapped port 8889.
I also used the bind mount to share the directory from my local machine to /home/jovyan/work inside the container.
STEP 2 – Once the container is created, connect to the container by running the following command.
$ docker container exec -it spark-notebook bashSTEP 3 – The jupyter stack is installed through conda and is available under /opt/conda/bin.
$ ls -ld /opt/conda/bin/*jupyter*STEP 4 – To set up the jupyter notebook for pyspark add the following environmental variables to the user’s .bashrc file. The container comes with the default user called Jovyan and root. You can also create a custom user instead of using the default user named Jovyan which is discussed in the previous article.
export SPARK_HOME="/usr/local/spark"
export SPARK_BIN="$SPARK_HOME/bin"
export SPARK_PYTHON="$SPARK_HOME/python"
export PYSPARK_DRIVER_PYTHON="jupyter"
export PYSPARK_DRIVER_PYTHON_OPTS="lab --no-browser --port=8889"
export PYSPARK_PYTHON=python3
export PATH="/opt/conda/bin:/opt/conda/condabin:/opt/conda/bin:$SPARK_BIN:$SPARK_PYTHON:$PATH"
Here the two important environmental variables PYSPARK_DRIVER_PYTHON and PYSPARK_DRIVER_PYTHON_OPTS point to the jupyter lab to run and listen at port 8889.
NOTE: If you wish to use jupyter notebook instead of jupyter lab, replace the word lab with notebook in PYSPARK_DRIVER_PYTHON_OPTS variable.
STEP 5 – Source the .bashrc file.
$ source ~/.bashrcNow if you run the pyspark command, it will launch the jupyter lab environment. You should get the token to access the URL. Copy and paste the host address along with the token in your local host browser which will open the jupyter lab.
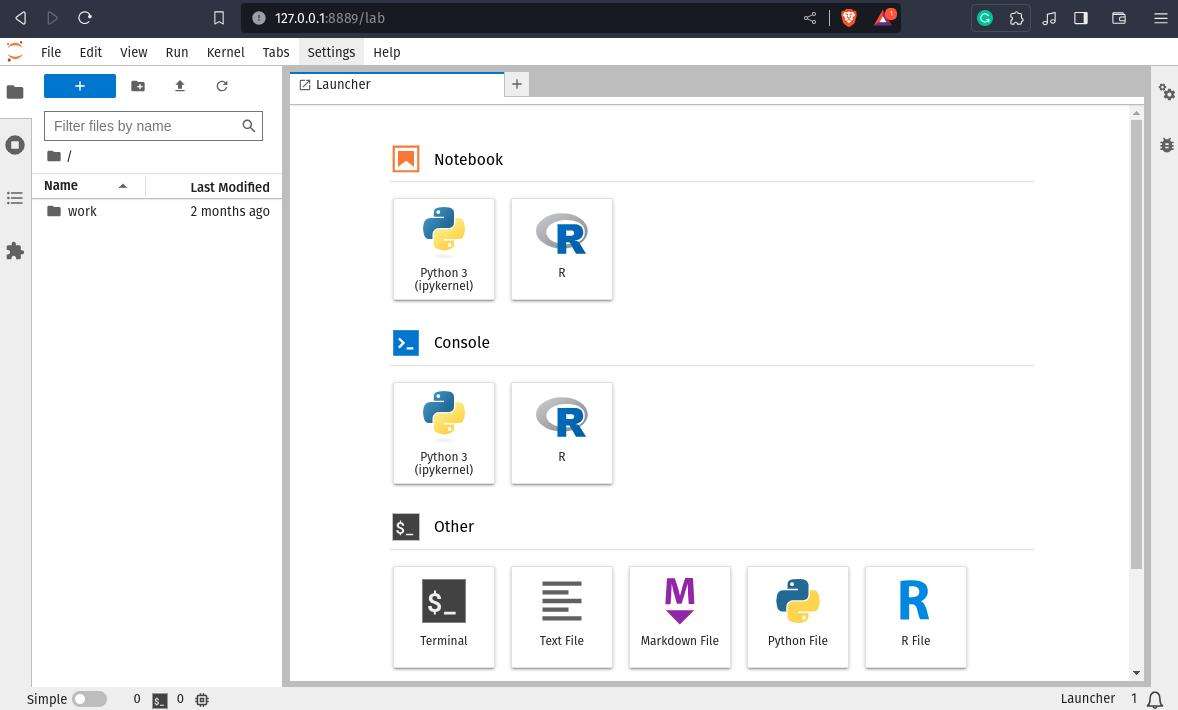
Select Python3(ipython kernel) under the notebook section to launch a new notebook. From the below image, you can see the jupyter notebook is picking up the spark-related auto-completion properly.

Pyspark Jupyter Lab set up With Findspark Module
The findspark module will automatically add the spark path to the sys.path at runtime. This way you can work with spark from the notebook.
First, you need to install the findspark module using pip.
$ pip install findspark
or
$ pip3 install findpspark
If you are using the conda environment run the following command.
$ conda install findsparkNow launch the jupyter notebook which will just launch the notebook without spark environment. Running the following piece of code will add the necessary spark path to the python sys.path. The findspark will look for known locations in the system to find the spark path.
import findspark
findspark.init()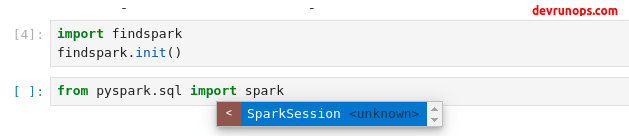
You can also pass the spark path as an argument to the init() method.
import findspark
findspark.init("/usr/local/spark/")
Run Sample Spark Code In Jupyter Lab
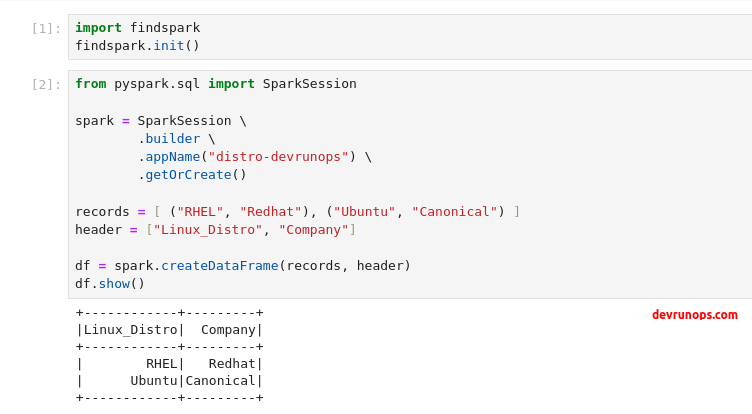
You can test the pyspark jupyter lab setup by running the following piece of code which creates a data frame with just 2 rows and 2 columns.
from pyspark.sql import SparkSession

spark = SparkSession \
        .builder \
        .appName("distro-devrunops") \
        .getOrCreate()

records = [ ("RHEL", "Redhat"), ("Ubuntu", "Canonical") ]
header = ["Linux_Distro", "Company"]

df = spark.createDataFrame(records, header)
df.show()
Wrap Up
In this guide, I have shown you how to set up pyspark with jupyter lab using the environmental variables and with the findspark module. You can choose any one of the methods that fits your needs.